

I’m the kind of person who stood in front of the bathroom mirror last Sunday, running a brush through thick, dense natural hair, wondering: do I really want to go this straight again?
The answer is usually no. But every few months, an event or a mood says yes. And here’s the thing — when you get the technique right, the style holds. Your strands don’t pay the price.
Straight hair is just another hairstyle. It shouldn’t be the only one you know. This 10-step routine is the one I’ve settled on after years of over-pressing and under-moisturizing.
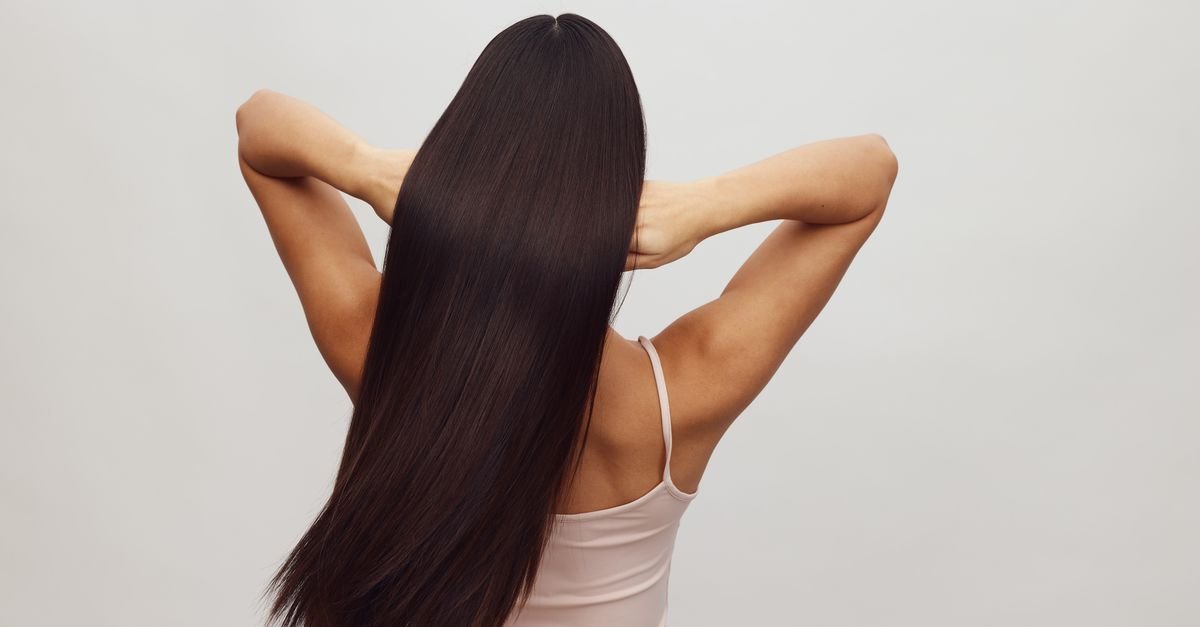
Before the first strand touches the iron
1. Pick the right tool. A ceramic tourmaline ionic flat iron is ideal. A plain ceramic one works just as well if that’s all you have. Stove-heated pressing combs are not the move — they can get so hot they literally burn hair.
2. Deep condition first. Clean hair, freshly deep-conditioned with a penetrating conditioner. The extra moisture is what keeps hair from drying out during heat styling. Some low-molecular-weight conditioners, especially ones with cetrimonium bromide, help combat heat damage too.
3. Layer your protection. Apply a leave-in conditioner, then a good heat protectant. Comb through the full length to distribute evenly. Choose a protectant with glycerine — it helps lock in moisture during heat exposure. A silicone serum on top adds a smooth finish.
The stretch
4. Know your texture first. Natural black hair comes in many textures, and straightening looks different depending on thickness and curl degree. Loosely curled hair can be smoothed with just a roller set — you might skip the flat iron entirely. Thicker, coilier strands need more attention and more heat.
5. Pre-stretch before you press. This is where the silk-press magic actually happens. Blow-dry damp hair in sections, as straight as you can get it, on medium temperature. No high heat, and never blow-dry hair that’s still dripping wet. You can also pre-stretch by air-drying in large braids, twists, or banding — though depending on your texture, results may not be as smooth and you might lose more length to breakage later.
The press
6. Add a little more protection. Once hair is dry and stretched, apply a bit more heat-protectant serum. Always use a temperature-controlled appliance.
7. Set the iron and work in sections. Start at medium temperature, around 315°F or 157°C. Work from the back, clipping the rest of your hair out of the way. Pass over each section just once — twice at most. Adjust the temperature slightly as needed, and use the lowest temperature at which you get good results. You want straight hair with a bit of body and bounce, not a flat stick.
8. Try the comb-chase method. Take a small section, run a fine-tooth comb down it with one hand while chasing with the flat iron in the other. It requires using both hands at once, so pick a straightener that comes with a comb or teeth already attached if that’s a stretch.
9. Straighten the rest, then set. Apply a small amount of anti-humectant pomade to keep hair from reverting before your next wash day. Aveda Brilliant Anti-Humectant and John Frieda Frizz Ease are the ones I keep coming back to.
10. Silk wrap for extra flat. Wrap hair around your head, using your skull as one big roller. Secure with bobby pins or clips. Cover with cling wrap and sit under a hooded dryer for 10–15 minutes. This is the silk-wrap finish — or you can wrap overnight in a silk scarf for the same volume-reducing effect.
Keeping it straight (and healthy)
At night, wrap hair again, tie it into a loose ponytail, or pin it up. Whichever you choose, cover it with a satin scarf or bonnet. Moisturize your ends daily with a good moisturizer to keep them healthy until your next wash.
If you want the extra-sleek, “relaxer-straight” look, add a little coconut oil before or right after flat-ironing. It’s not a heat protectant, so don’t treat it as one. Hair will be less flowy but much straighter and shinier. And remember — your final results have less to do with the temperature of your flat iron than with your technique, tools, and products. Even on the kinkiest textures.
The Glow Ritual
Before your next flat-iron session, take 5 minutes on a wash day and apply a deep conditioner with glycerine. Comb it through the full length, leave it in for the full recommended time, and rinse. That’s it. Your hair will feel the difference before the iron even gets close.
FAQ
Can I use a regular flat iron on thick natural hair? Yes — as long as it’s temperature-controlled and you use a heat protectant. Ceramic tourmaline ionic is ideal, but plain ceramic works too.
What temperature should I start at? Around 315°F (157°C) on medium. Adjust slightly up or down as needed, and always aim for the lowest temperature that gives you the result you want.
Is the silk wrap necessary? No, but it makes a big difference for extra-sleek results and volume control. If you skip it, the flat-iron style still holds — just with a bit more body.
a note from Johnson: I used to think straightening my hair meant sacrificing its health. It doesn’t — but it does mean being intentional about every step, from the deep condition to the satin scarf at night. Glow is a habit, not a product. The same goes for your hair.